How to Clean an Air Fryer Basket
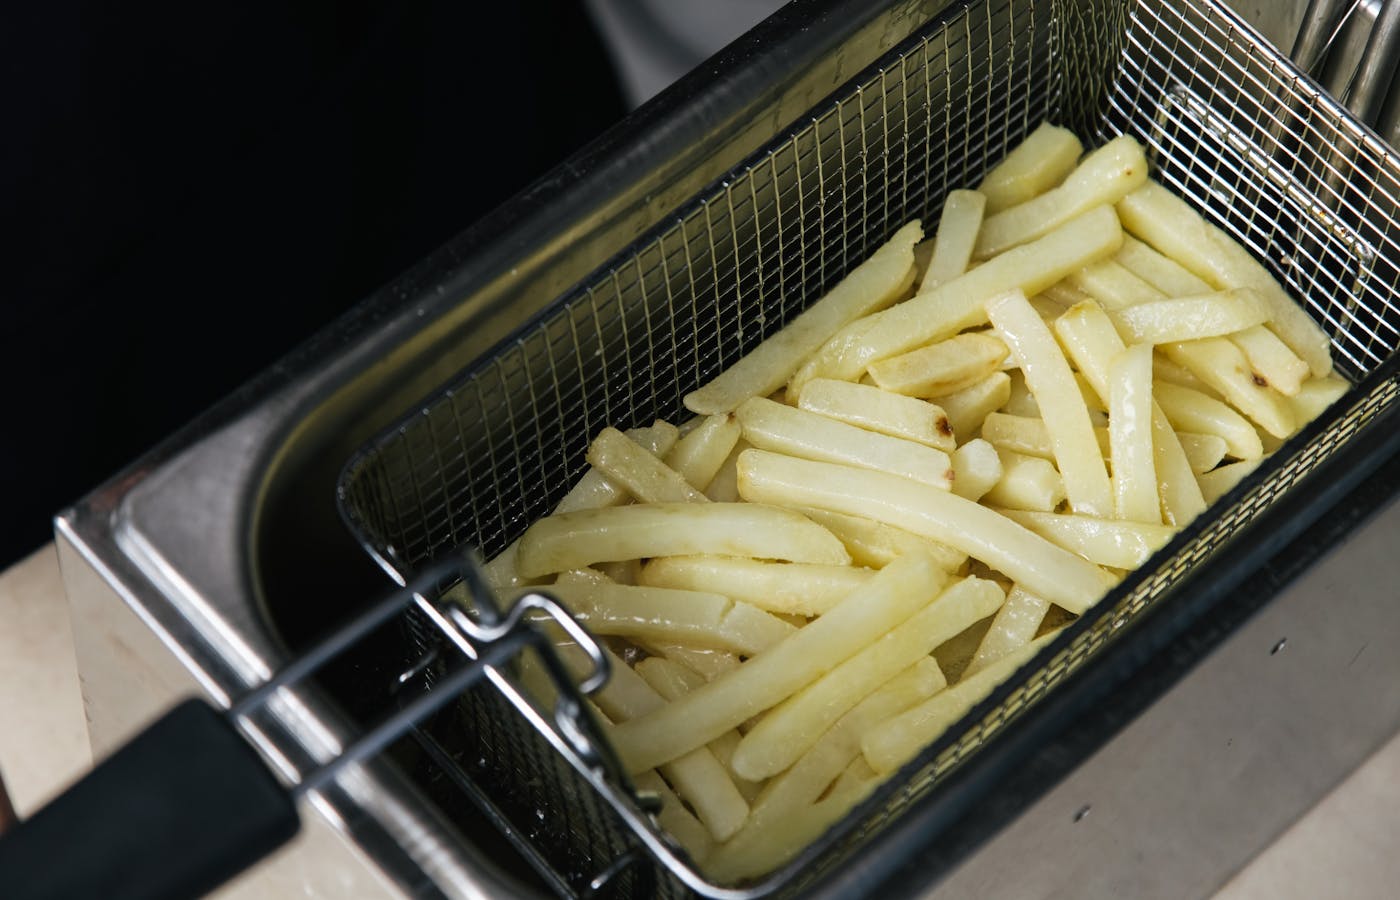
Basket cleanup is easiest to maintain when it becomes part of the cooking routine instead of a separate unpleasant job. The basket collects oil, crumbs, starch, sauce, and tiny browned bits that can burn later. If they stay there, the next batch may smoke or pick up stale flavors.
The safest cleaning method is simple: let the parts cool, remove loose debris, wash with gentle tools, and dry everything before reassembling. The nonstick coating matters more than speed. A basket that looks clean but is scratched, sticky, or still damp can create new problems.
Let the basket cool before adding water sets the practical boundary for the article: ordinary tools, limited time, and a result the reader can repeat without buying a shelf of supplies. That practical boundary matters. It gives enough judgment to know when to stop, dry, reheat, rinse, or simplify.
Let the basket cool before adding water
A hot basket can burn your hands, warp weaker parts, or react badly when plunged into cold water. Let it cool until it is safe to handle, but do not leave it overnight with food stuck inside. Warm residue is usually easier to remove than hardened residue.
Check the manual if your air fryer has removable plates, silicone feet, or dishwasher-safe pieces. Some parts can handle dishwashers; others last longer with hand washing. When in doubt, hand washing with a soft sponge is the gentler choice.
For let the basket cool before adding water, watch one visible cooking clue: color, steam, oil pooling, or uneven edges. That clue tells you more than the timer alone when the first batch behaves differently than expected in the basket. Use let the basket cool before adding water as a checkpoint, then move on only when the result looks stable enough to repeat.
Remove crumbs and loose pieces first
Before soaking, tip out loose crumbs into the trash. Wiping or rinsing loose debris into the sink can clog drains and spread grease. Use a paper towel or soft brush for dry bits around corners, holes, and raised ridges.
This dry pass makes the wet cleaning easier. It also shows where the real stuck spots are. If there is burned cheese, sauce, or starch, you can target those areas instead of scrubbing the whole basket harder than necessary.
For remove crumbs and loose pieces first, keep the next adjustment narrow. Beginners learn faster when one condition changes and the result can be compared with the previous attempt. Remove crumbs and loose pieces first is strongest when the reader can compare one clear before-and-after cue instead of guessing from memory.
- Empty loose crumbs into the trash.
- Check basket corners and the underside of removable plates.
- Use a soft brush for dry debris around holes.
- Avoid metal scrapers on nonstick surfaces.
Soak stuck residue instead of scraping it
Stuck residue is tempting to attack with a sharp edge, but that can damage the coating. Fill the basket or drawer with warm water and a little dish soap, then let the residue soften. Ten to twenty minutes is often enough for ordinary food buildup.
For stubborn grease, change the water and repeat rather than using harsh pressure. A soft sponge, cloth, or non-scratch pad should do most of the work. If a spot refuses to move, it may need more soaking, not more force.
For soak stuck residue instead of scraping it, use the result as feedback rather than starting over. A small correction is easier to understand than a completely different routine. This keeps soak stuck residue instead of scraping it practical for a normal kitchen or driveway, not just for an ideal weekend project.
- Cool the basket until it is safe to touch.
- Remove crumbs and loose food pieces.
- Add warm water and mild dish soap.
- Soak stuck residue until it softens.
- Wash with a soft sponge or cloth.
- Rinse and dry before reassembling.
Clean around holes, ridges, and handles carefully
The flat surfaces are easy to see, but residue often hides around perforations, ridges, handle joints, and removable plates. Those small areas can hold grease that smells bad when heated. Turn the basket in the light and inspect the edges before calling it clean.
Use a soft toothbrush reserved for kitchen cleaning if the manual allows it. Keep the pressure light. The goal is to loosen residue, not polish the basket like metal cookware. Rinse from different angles so soap and crumbs do not stay in the holes.
For clean around holes, ridges, and handles carefully, stop if the surface changes color, feels rough, or stays wet. That pause protects the car and gives the beginner a chance to choose a gentler next pass. If the result is still uncertain, pause here and repeat the gentlest useful pass before adding another variable or extra product.
Handle odors without perfume or harsh chemicals
Air fryer odors often come from old oil or stuck crumbs, not from the appliance itself. Wash the basket thoroughly, dry it, and let it air out with the drawer open. If the smell remains, check the underside of plates and the drawer corners.
Avoid strong perfumes, bleach, or cleaners that are not food-contact safe. A mild baking soda paste can help with some odors, but rinse it completely and check the manual first. Anything left behind can heat during the next cook.
For handle odors without perfume or harsh chemicals, use a clean side of the towel for the final pass. Small residue can make an otherwise clean car look unfinished, especially on glass, trim, and dark seats. That restraint makes the advice easier to trust because each step earns its place in the routine and avoids unnecessary rework.
- Clean oil residue before trying odor tricks.
- Air out the basket after washing and drying.
- Check hidden corners under removable plates.
- Keep harsh cleaners away from food-contact surfaces.
Dry the basket before storage or cooking
Water trapped in corners can drip onto the counter, dilute oil on the next batch, or leave spots inside the drawer. Dry with a towel, then let the pieces sit apart briefly if water hides in seams. Reassemble only when the parts feel dry.
Learning how to clean an air fryer basket is mostly about timing and gentleness. Clean before residue hardens, protect the coating, and keep crumbs from burning into the next meal. That routine keeps the appliance more reliable and easier to use.
For dry the basket before storage or cooking, let cleanup influence the cooking choice. Sticky sauces, loose crumbs, and excess oil can make the meal harder than a simpler dry seasoning would. A simple note after this step also helps the next attempt start from experience rather than trial and error.
A clean basket does not need to look brand new, but it should be free of loose crumbs, sticky oil, soap, and trapped moisture. That is enough to protect flavor, airflow, and the next batch.
For a beginner, the cleaning routine should also include one quick inspection before the basket goes back into the appliance. Look for crumbs under the removable tray, sticky oil near the corners, and soap bubbles trapped around holes. Those small checks prevent smoke, odors, and residue from showing up during the next cook.
If the basket still feels greasy after washing, repeat warm soapy water rather than adding a harsh cleaner. A soft cloth and patience protect the coating better than pressure. The basket does not need to look unused; it needs to be dry, free of loose food, and comfortable to handle.
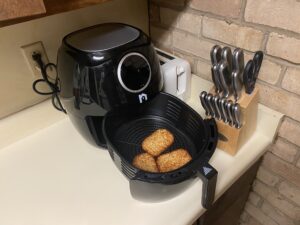
The routine is also easier when the air fryer has a landing spot near the sink after cooking. That small habit makes cleanup feel connected to dinner instead of like a separate chore that waits until residue hardens.
If you cook several batches in a row, wipe loose crumbs between batches once the basket is safe to handle. That small reset reduces burning bits and makes the final wash less stubborn.